The Pedal Gee Bee
The ongoing saga of the construction of a pedal powered Gee Bee R2 replica for my kids.
Friday, August 26, 2005
Nose Ring Sanded to Shape
I sanded the nose ring to shape tonight. I'm extreeemly pleased with the results. I attached the nose ring on a 1/2 inch threaded rod arbor mounted in my drill press. Then, turning the assembly around 500 RPM, I used a combination of the belt sander and hand sanding to get it into the final shape. We'll see how well this matches the final cowl shape. I'm sure I'll need to do some filling and sanding but DAMN! this thing looks good.


Sunday, August 21, 2005
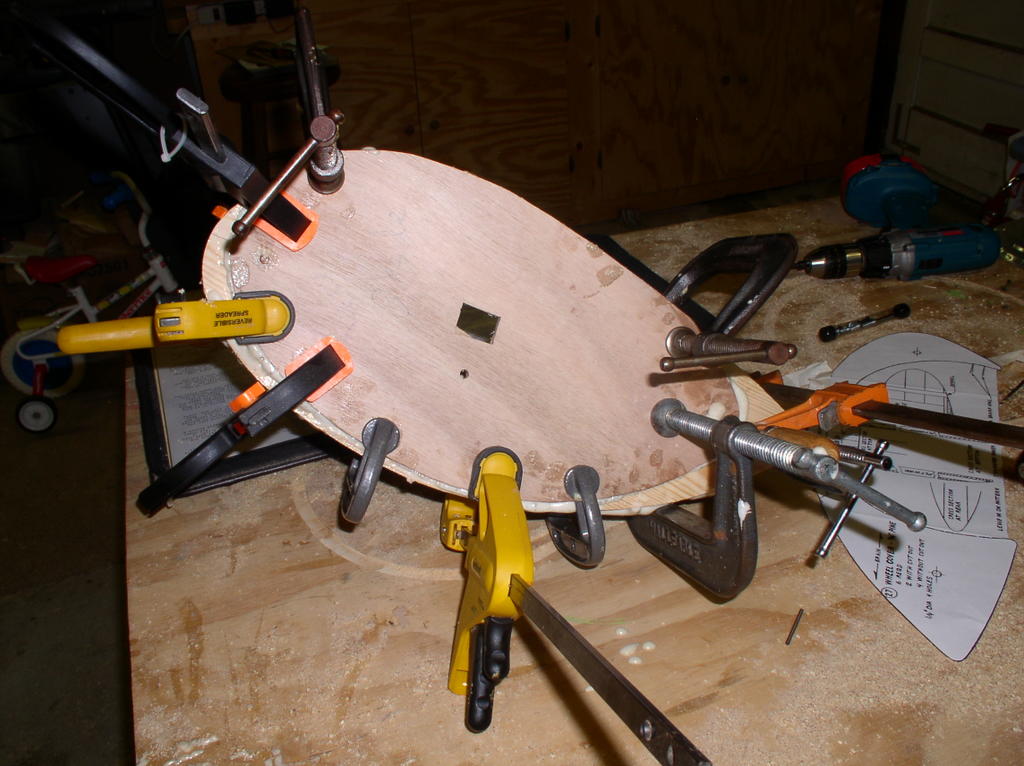
Nose Ring Turned to Size
Time spent: 2 hours
I figured out how to get the nose ring down to size to fit my drill press last night. Using the circle jig and the already centered hole in the aft side, I can circle route the outer ring sections down to their final dimension. Since I won’t be able to reach all the way to the front edge with my router bit, I can route what’s left using a flush cut bit in my router table. This will give me just enough clearance to turn the ring in the drill press and sand to the shape needed.
Routing the outer rings was going to be difficult since their circular shape meant I would be routing a lot of end grain. With hardwood, this isn’t much of a problem. However, this is pine and unless you have a sharp bit and take very shallow routes, you could very well tear the wood along the grain and take a huge chunk out by accident. Make sure you clamp this thing down VERY securely. If you don’t, the router is going to grab, jerking the piece away from your hands and tearing the wood badly.
I took my time, and only took about an 1/16th of an inch out for each pass. Even then, I managed to tear a bit of the ring. I’m glad I used urethane glue to build the layers. I wasn’t worried about a whole ring section tearing out. After I had the aft portion of the pine rings routed to size, I mounted the router in the table and flush trimmed the rest of the ring to shape.
Saturday, August 20, 2005
Cowl rib band saw jig built
Time spent: 3 hours (evening)
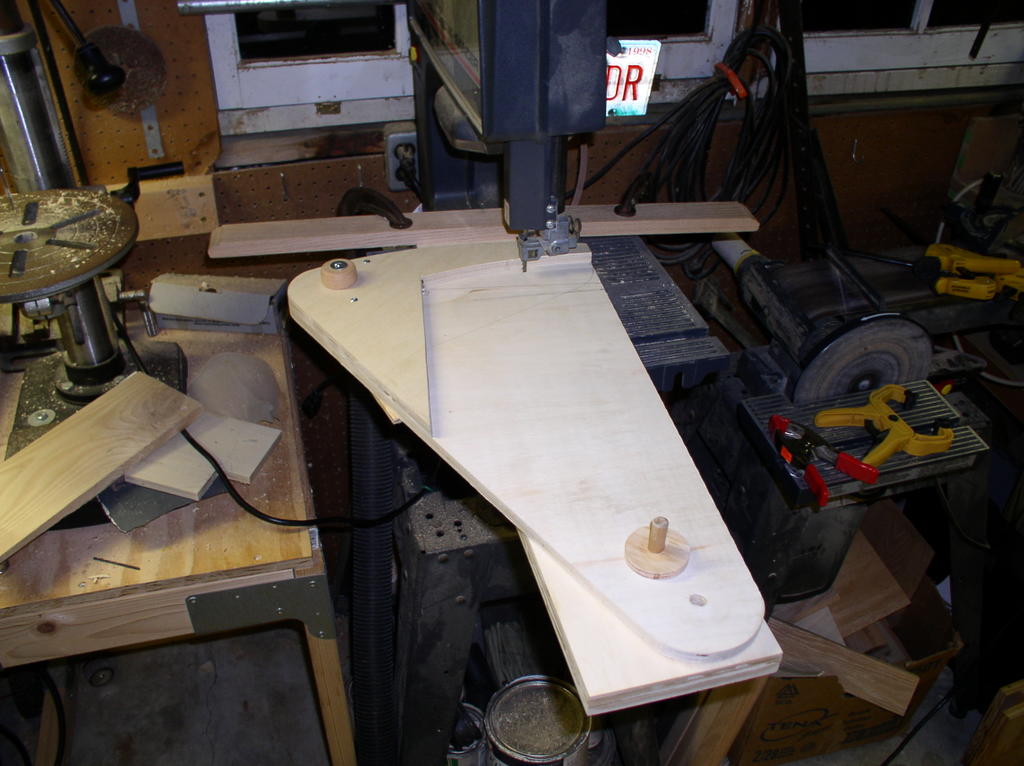
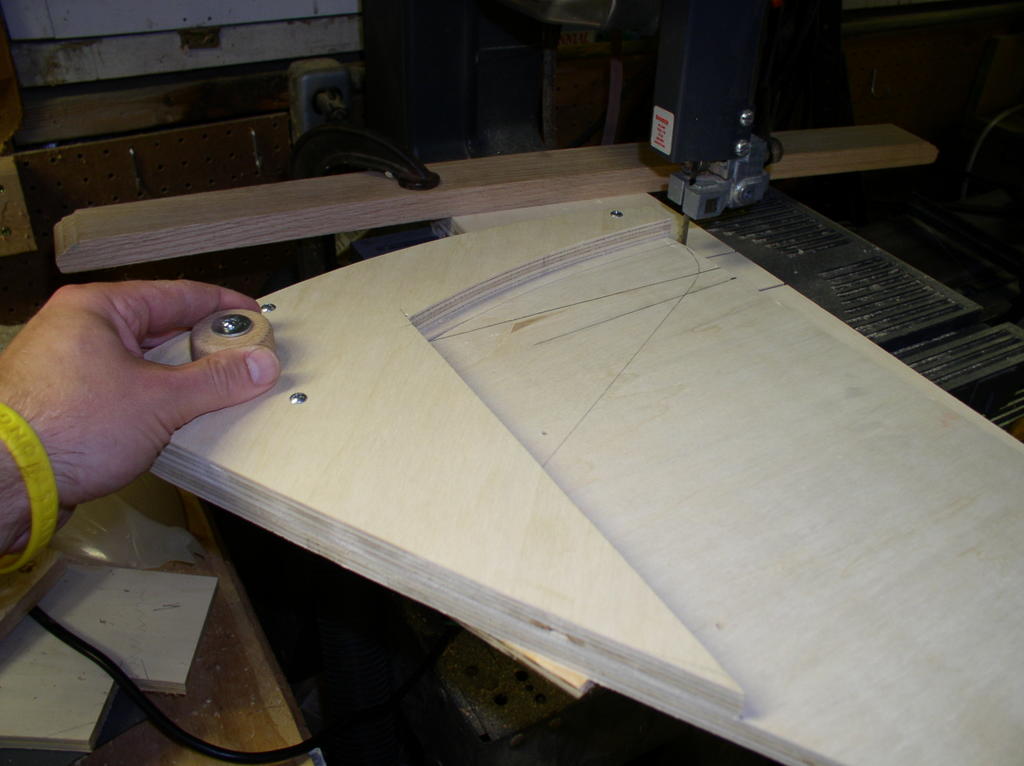
This has been one of the better build days to date. Ever since the start of this project I’ve been worried about the cowl and the ribs that are used to make it. How you make a round barrel out of straight pine boards fascinated and scared me since the moment I purchased the plans. Well, the key is your band saw and the pivoting arm jig, and I built it today.
I went and purchased a nice half-sheet of quality, 5-ply, plywood. I didn’t want this thing to warp, so it had to be stable (read: thick) and since the parts were going to be sliding over each other I wanted the faces to be smooth.
I followed the instructions to the letter on this one, and it turned out perfect. A word of caution is in order here before you start cutting parts exactly as the plans show. Make sure that the base is long enough past the blade to reach the back of the band saw table. Otherwise, you’ll have a tough time clamping it securely. Luckily, the plans fit my saw to a tee. I was feeling so go about this jig I felt I had to use one of Grandpa’s hardwood knobs that I found in his shop when he died. Yep, he still lends a hand in my shop.
If I were to do this again, Id make the following modifications to the jig plans:
- Make the base wider, say 8 to 10 inches instead of the 6 inches as per the plans. This would make the base less prone to twisting. Furthermore, the sliding top to the jig wouldn’t lever up and out of the bottom half when extended to the left.
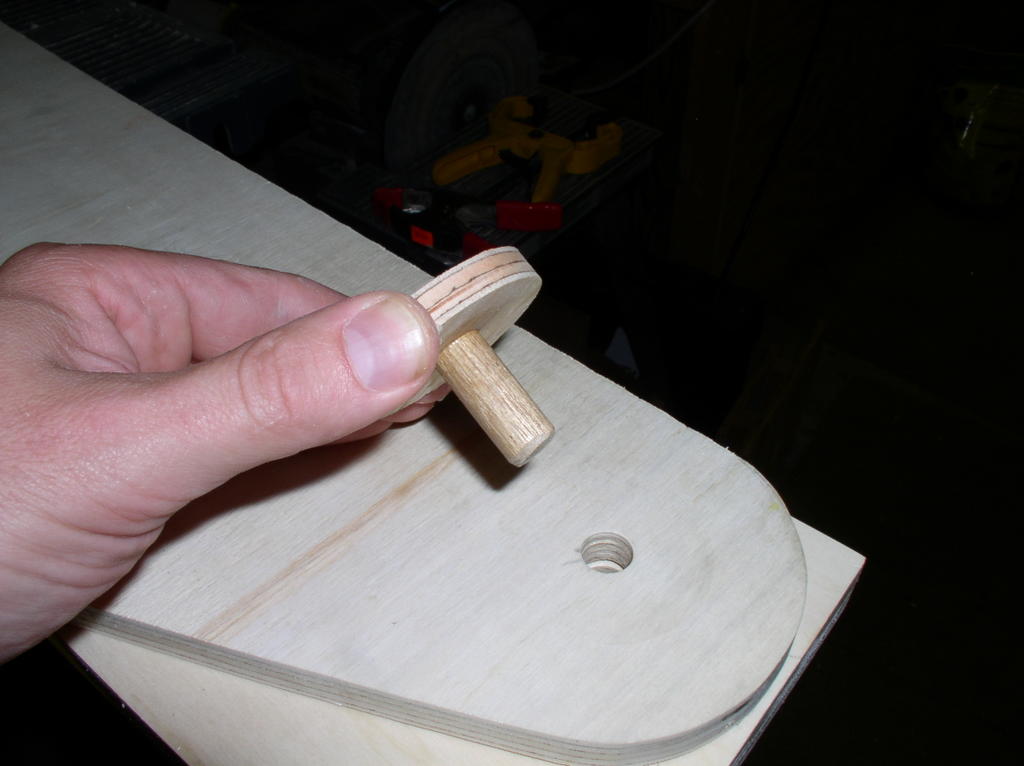
- Make the pin removable. I did this on mine and the whole thing works easier, if you ask me.
Friday, August 19, 2005
Cowl Rib Tablesaw Jigs Complete
Time spent: 3 hours (evening)
Total time: 37.5
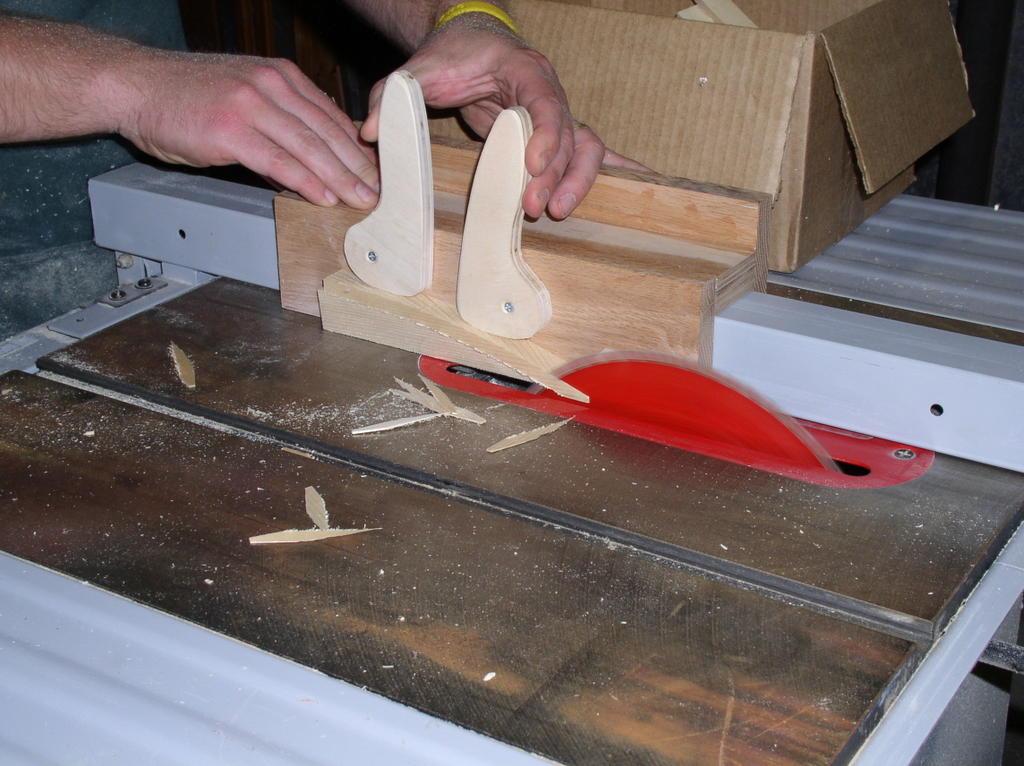
Started on the cowl rib jigs. I’m pretty sure that the scarfing fixture for the tablesaw can be adapted for later projects so I used some oak scrap I had to build it. When the project’s finished I can cut off the pine pieces on the front and save it.
To build it I measured the fence on my tables saw, cut the pieces and assembled the three-sided box shape that fits over the fence. Using glue and clamps to secure it, I let it sit overnight for finishing tomorrow.
I modified the other tablesaw cowl fixture a little bit to make it more stable. Rather than having it slide in only one of the miter slots on my tablesaw, I made it large enough to span both. This can only make it more accurate. To build it I ripped some hardwood scrap to the dimensions of the slot to serve as the rails underneath the fixture. Then I cut a piece of ½ inch plywood for the “sled” wide enough to cover both miter slots. Place both rails in their slots, place the sled on top and pilot drill the four corners through the sled and slightly into the rails. Wile the fixture is still on top of the saw drive screws into each of the holes. Squareness to the front edge of the sled really doesn’t matter here as it will slide in the slots. Therefore the blade will always hit in the same spot on the fixture, and the saw kerf is what you really need to be square to. I took the fixture off of the saw, backed out the screws, added glue, and turned the screws back down.
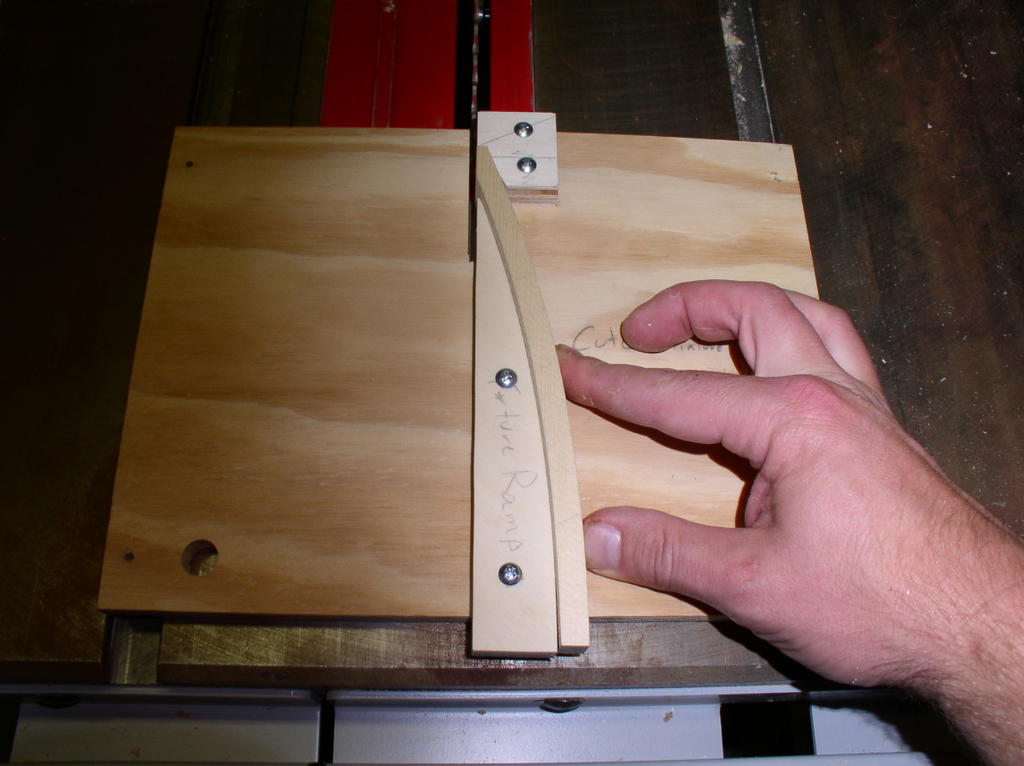
Once the glue had dried, I removed the screws and reference cut the fixture in the saw. Taking a straightedge, I extended the cut line with a pencil. The fixture ramp and front block were installed along this line. The instructions say to use glue in all the fixtures, but in this case, as long as you’re careful with their placement, you can use screws. It allows you to do some adjusting if need be.
Sunday, August 14, 2005
Nose Plate Size Problem
Time spent: 1.5 hours (day)
I used the drum sander to clean up the inside radious on the nose plate. It looks great, I’m glad I rebuilt it using the circle jig.
Houston, we have a problem!
Friday, August 12, 2005
Nose Plate Lamination & Firewall
Time spent: 2.5 hours (evening)
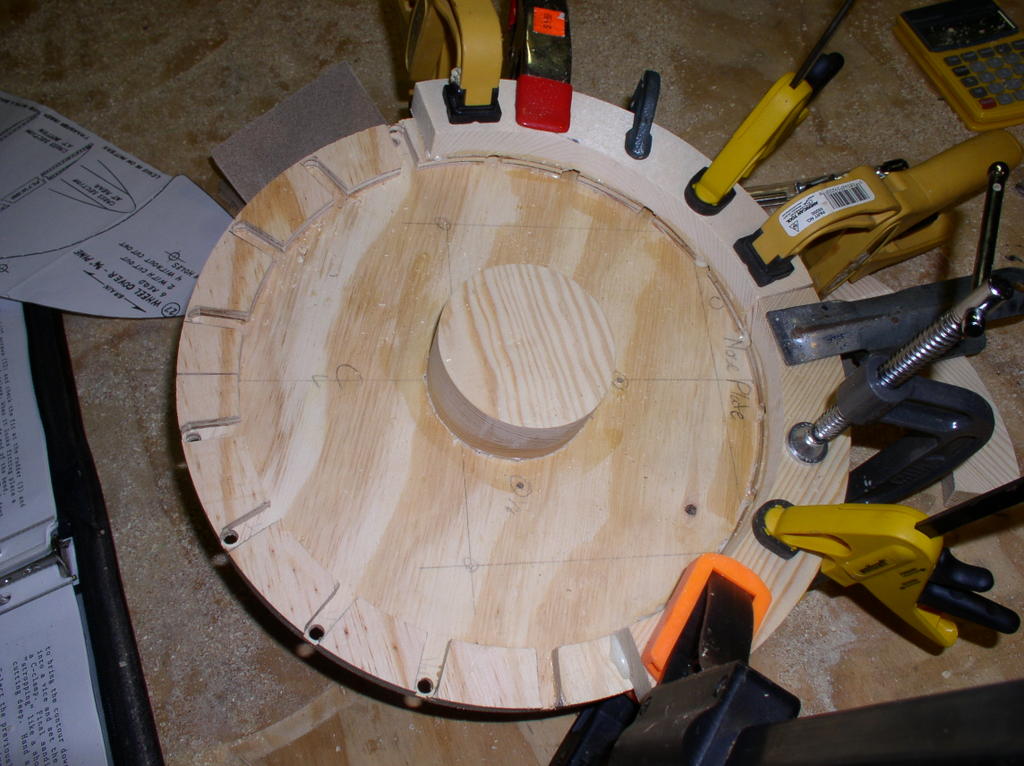
Glued up more of the nose plate pine rings. I should have all of them completed by the end of the weekend. I’m taking the glue-up slowly as I want this thing to be solid and round.
Unclamped the remaining wheel cover assembly. It looks like a mess but it’s VERY solid. I’ll be able to sand on these as if they were solid blocks of wood. I’m beginning to realize just how much sanding it will take to get these into their final shape. WOW. I’m going to need my respirator.
I temporarily reattached the lower fuselage assemblies in place in order to scribe the firewall shape. I simply drilled partially through the inside of the fuse and attached from the inside with 3 screws on each side. In the finishing process the holes will be filled by body putty. Clamped the firewall in the correct place and transferred the firewall hole centers to the nose positioning plate adapter with a center punch. I then drew the edge of the firewall around the parts of the fuselage that stick out (cowl formers and fuselage lower front corners). These places will be sanded to this line so that the cowl is sort of “set-off” from the rest of the aircraft.
Having completed the scribing of the firewall I proceeded to enlarge the 1/8th holes to 2 3/16ths and glued in the T-nuts. Remember, you want to get them well seated, and you don’t want to get glue inside the threads. I rummaged through my odds and ends bin and found a scrap bolt with the correct threads, turned the t-nut on and drove it like a nail for a few taps until it bit. Then I placed a little dollop of glue behind the t-nut and tapped it down. This way it gets fully seated in the hole, and the screw keeps the threads glue-free.
Wednesday, August 10, 2005
Nose Plate & Wheel Cover 2
I cut the eight pine nose plate leading edge pieces. These will be laminated to the nose plate to form a double layer. This double layer will then be sanded to a smooth curve to transition from the inside to the outside of the cowl. Visualizing how these pieces are going to go together you see that while the outside radius on the lowest layer needs to be right on, it’s really the inside radius that’s most critical. The lowest layer will meet up with the cowl ribs when their installed. However, inside the nose plate you’ll nee to true up all of the edges to a continual radius. So, be extra careful here in cutting to shape. Being a little too big isn’t a problem, since you can custom spot sand each piece as it goes on.
For added strength, use polyurethane glue. You’re going to be turning this thing in either a drill press or a lathe and sanding to form. You probably won’t be exerting a lot of pressure if you just sanding, but if you use any sort of lathe tools to speed up the process you don’t want it de-laminating as your turning. You’d probably have to build a new nose plate assembly if it comes apart that way, after you get back from the emergency room.
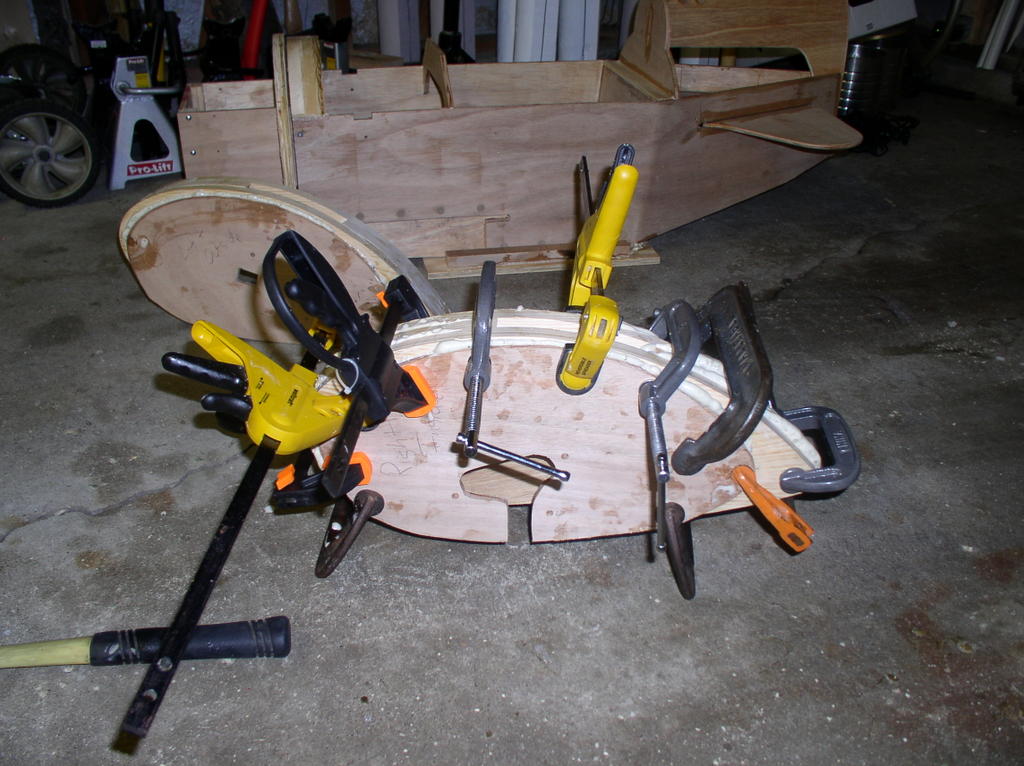
Glued up the other wheel cover assembly. Again, it was a sticky gooey mess but I’m certain that it isn’t going to come apart. When I’m bearing down with the belt sander and others I’ll be glad I glued it up so completely.
Tuesday, August 09, 2005
Nose Plate Recut & Wheel Cover
Time spent: 3.5 hours
Finished cutting a gluing the nose plate assembly using the circle jig. Man, it’s so much easier with a jig. Glued two small scrap pieces of pine together this afternoon, and cut the nose plate prop spacer on the band saw.
Separated and organized all of the wheel cover layers into a left and a right assembly. Marked all of the parts with their respective location left (outer cover, left, center, right, inner cover) and right (inner cover, left, center, right, outer cover). Gang-drilled all the layers of the wheel pants for dowel pins. Verified all of the holes lined up reasonably well throughout the “sandwich” and proceeded to glue.
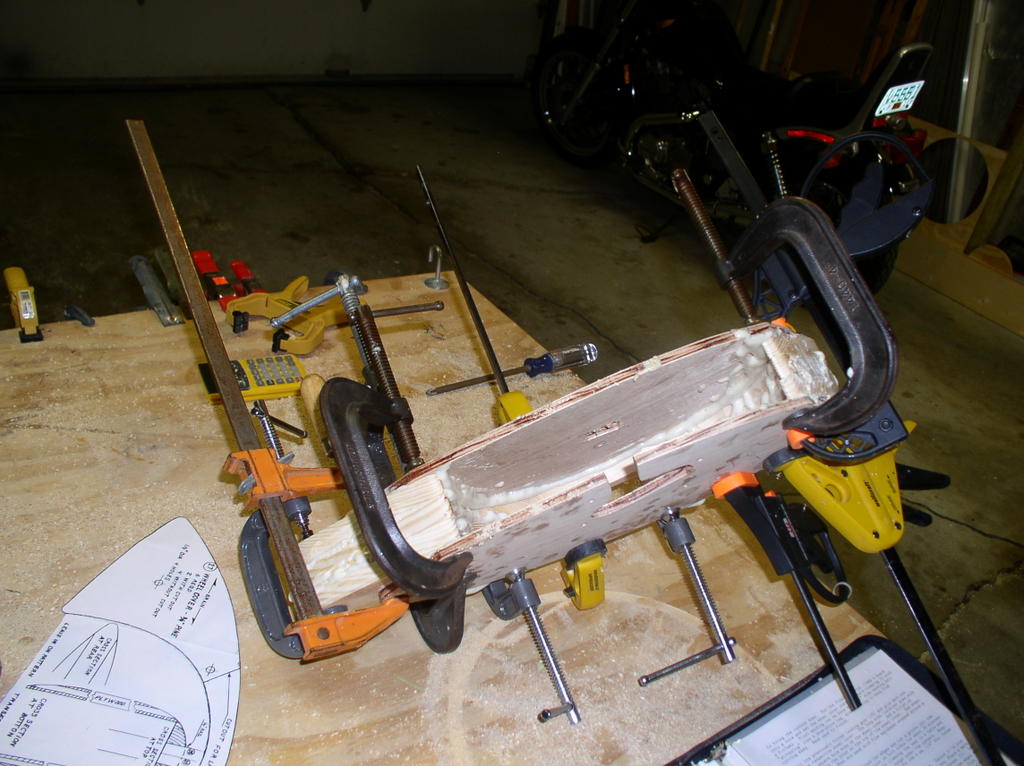
The only goal I had here in glue-up was that it needed to line up, and it had to be tight, VERY tight. Not only is it going to bear the weight of the craft and the kid, it will experience some crank torque during pedaling. On top of that, since I had template routed the pine pieces to shape during the weekend, they had warped a good deal. No big deal, since they could easily be clamped back to true. So I got REAL liberal in the use of the urethane glue. This is where it got messy, but I didn’t care since the entire surface of the wheel cover assembly is going to be sanded to shape. I rounded the ends of the dowels, started them on the outside cover and placed each successive layer underneath with glue in the correct place. I then lightly tapped the dowel with a hammer to pass the dowel completely through the layer, and repeated the process until the entire assembly was “sandwiched”. Using the strongest C-clamps in the lot I clamped this thing together, especially the corners and ends, TIGHT. Just remember that the outer plywood covers are not the same size as the inner pine sections. You don’t need glue in certain places. But remember, it’s going to get completely sanded anyway, so have some fun and make a mess. You did get the lacquer thinner… right?
Monday, August 08, 2005
Nose Recut
Time spent: 2.5 hours (evening)
I’ve spent a many a sleepless night fretting over how round the firewall and nose plate are going to wind up. I mean, if they’re out of round or the holes are not to center after I’ve sanded it round there’s no way, geometrically speaking, I can wind up with a round cowl. Not good on a Gee Bee. That’s what makes this aircraft special. The nose needs to be perfectly round and bulbous to work.
So I bought a Jasper 230 circle jig for my router. I really wanted the model 200, but Woodcraft didn’t have it. Oh well. This thing is SO COOL! I found myself trying to come up with reasons to cut more circles. Anyone need some round end tables? Some speaker enclosures perhaps?
In any event, I wound up re-cutting the firewall (6), a firewall doubler ring, nose plate (8), and the pushrod spacers (13). The later of which I cut as a complete circle rather than in three segments. While the first versions of the parts (which I had finished before) were extremely close to round, the process of rounding them had migrated the previously drilled holes relative to the completed circle. I’m glad I re-cut them at a cost of a quarter sheet of 3/8ths and an hour so of work.
Previous Posts
- Gear Assembly
- Rear fuselage covers installed
- Front fuselage cover installed
- Windsheild Trim Installed
- Windsheild Frame Mounted
- Cowl Completed!!!!!!!!!
- More Ribs and Wheel Covers
- Nose Ring Sanded to Shape
- Nose Ring Turned to Size
- Cowl rib band saw jig built
Post Archives
Additional Links
- Aviation Products Inc.
- Makita
- Porter Cable
- Black and Decker
- CMT Router Bits
- Ryobi
- Delta
- Miller Brewing
My Other Blogs
![]()
