The Pedal Gee Bee
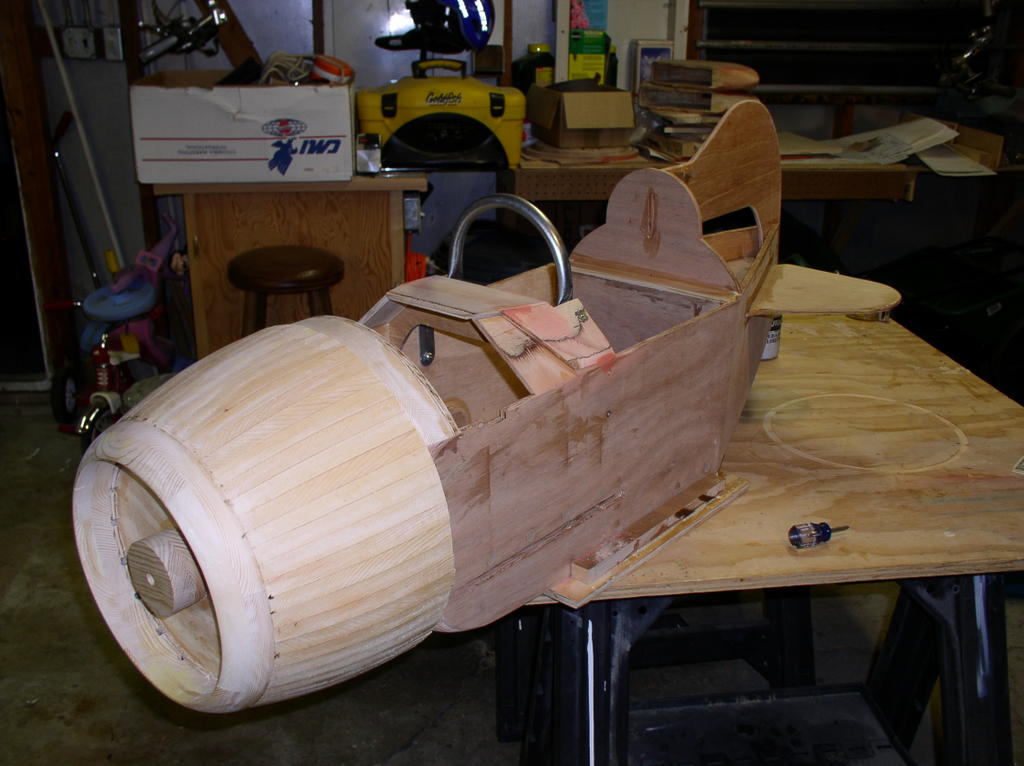
The ongoing saga of the construction of a pedal powered Gee Bee R2 replica for my kids.
Thursday, September 22, 2005
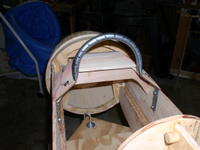
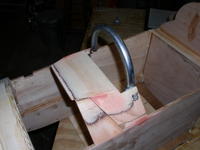
Windsheild Frame Mounted
Time Spent: .5 hours
Mounted the windsheild frame tonight. It was fairly straightforward, since I made sure that the panel assembly was square to the rest of the fuselage. After clamping the frame securely to the fuse, I marked the centers of all the holes to be drilled. I removed the frame, and drilled the 3/16ths holes in the fuselage and the 1/4 inch holes through the panel sides. It was then a simple matter of using the supplied (you did get the harware kit like I told you to...right?) flathead screws and hex head bolts with stop nuts to premanently mount the frame.
Some notes here:
- Make sure when you're clamping the frame in, before marking the holes, that the frame is centered in the panel opening
- Make sure that the frame is perpendicular to the fuselage sides. Otherwise your windseild will be tilting forward or backward. Not a big deal but square always looks better.


Previous Posts
- Cowl Completed!!!!!!!!!
- More Ribs and Wheel Covers
- Nose Ring Sanded to Shape
- Nose Ring Turned to Size
- Cowl rib band saw jig built
- Cowl Rib Tablesaw Jigs Complete
- Nose Plate Size Problem
- Nose Plate Lamination & Firewall
- Nose Plate & Wheel Cover 2
- Nose Plate Recut & Wheel Cover
Post Archives
Additional Links
- Aviation Products Inc.
- Makita
- Porter Cable
- Black and Decker
- CMT Router Bits
- Ryobi
- Delta
- Miller Brewing
My Other Blogs
![]()
