The Pedal Gee Bee
The ongoing saga of the construction of a pedal powered Gee Bee R2 replica for my kids.
Thursday, September 22, 2005
Windsheild Trim Installed
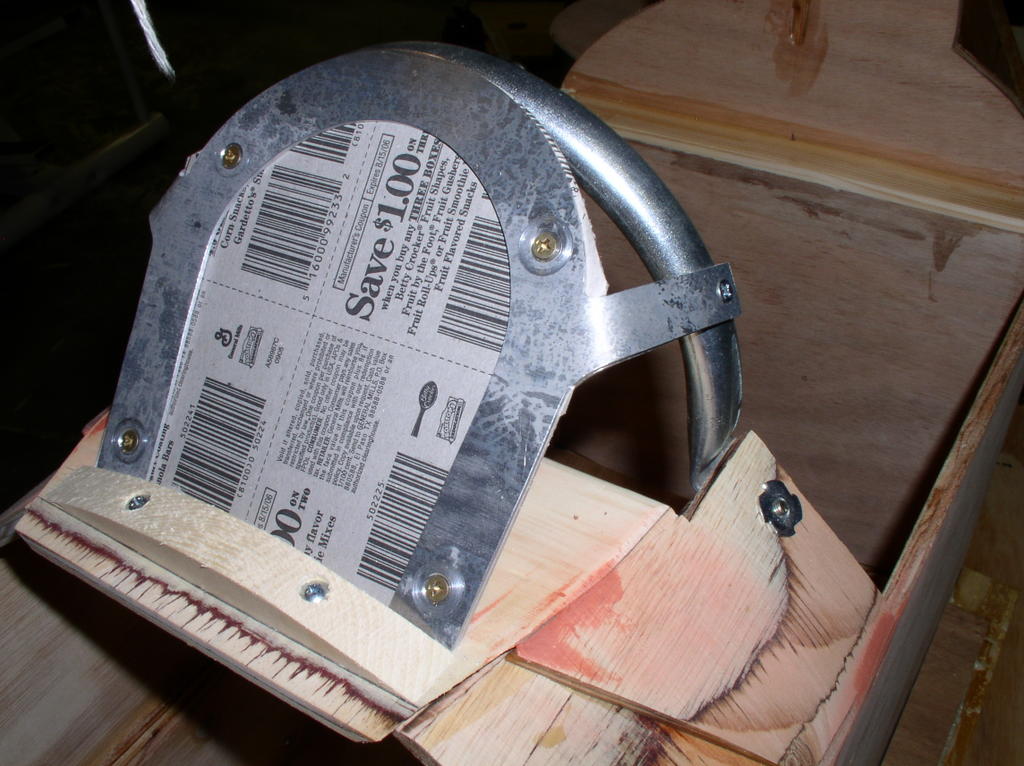
Spent this evening trying to get the windsheild trim installed properly. It was a little tougher than it looked. The first step was cutting the rear cowl former (14) to size. It's a fairly small piece when you cut it the size the plans call for. It looked a little too small to me as it doesn't quite span the entire panel top. It's going to be interesting if the aluminm front cover continues it's round shap when it meets this junction. With that in mind I cut and extra rear cowl former just a tad bit longer in case I need a bigger one.
Once the former was in place, I put a piece of thin cardboard between the windsheild trim halves as instructed. This piece simulates the width of the actual plastic windsheild film that will be installed at a later time. The trick was sanding and placing the trim centered on 1. the panel top; 2. the windshield frame; and 3. the cowl when viewed head-on. Upon final inspection it's centered on 1 and 2, but lookis off in relation to 3. Oh well, nothing I can do about it at this point.


Once the former was in place, I put a piece of thin cardboard between the windsheild trim halves as instructed. This piece simulates the width of the actual plastic windsheild film that will be installed at a later time. The trick was sanding and placing the trim centered on 1. the panel top; 2. the windshield frame; and 3. the cowl when viewed head-on. Upon final inspection it's centered on 1 and 2, but lookis off in relation to 3. Oh well, nothing I can do about it at this point.


0 Comments:
Previous Posts
- Windsheild Frame Mounted
- Cowl Completed!!!!!!!!!
- More Ribs and Wheel Covers
- Nose Ring Sanded to Shape
- Nose Ring Turned to Size
- Cowl rib band saw jig built
- Cowl Rib Tablesaw Jigs Complete
- Nose Plate Size Problem
- Nose Plate Lamination & Firewall
- Nose Plate & Wheel Cover 2
Post Archives
Additional Links
- Aviation Products Inc.
- Makita
- Porter Cable
- Black and Decker
- CMT Router Bits
- Ryobi
- Delta
- Miller Brewing
My Other Blogs
![]()
